How to Sharpen Hedge Trimmer Blades
As an Amazon Associate we earn from qualifying purchases.
Learning how to sharpen hedge trimmer blades means disconnecting power first, cleaning the teeth, and filing each cutting edge at its original angle, one direction at a time. Husqvarna’s US sharpening guide and STIHL’s English guide agree on the core steps. Sharpening only fixes a blade that has gone dull. A blade that is chipped, bent or heavily worn needs replacing, and the sources say so.
Quick answer
- Disconnect power before any blade work. Husqvarna’s US guide lists removing the battery, unplugging, or disconnecting the spark plug as the options.
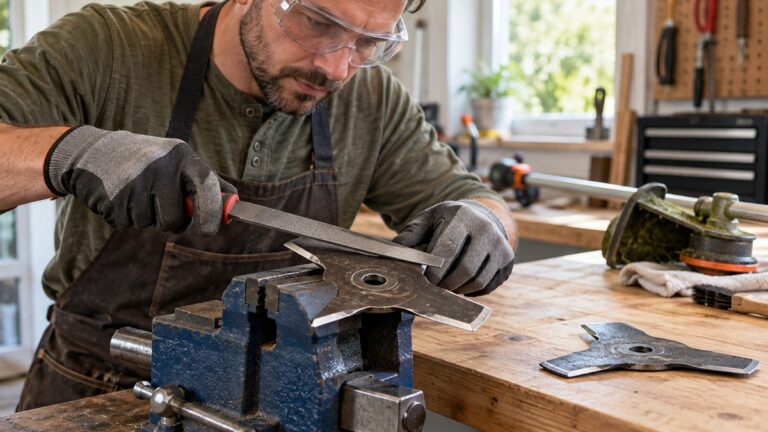
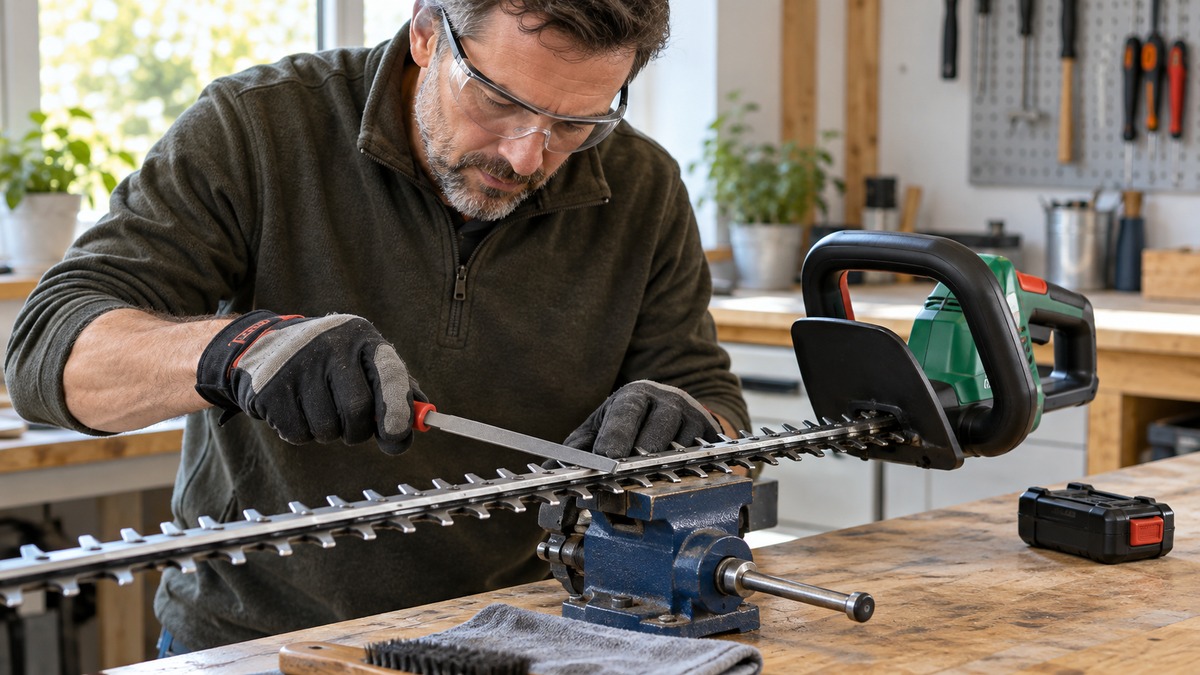
- Clean the blade, clamp or secure the trimmer, then file each tooth with a flat file at its original angle, in one direction only, using the same number of strokes on each tooth.
- Deburr the back of each tooth, wipe the blades, and oil them. STIHL’s guide uses resin solvent after filing; Husqvarna’s guide says oil or lubricant.
- Replace the blade if it is chipped, bent or heavily worn. Sharpening does not repair those problems.
When sharpening is the right fix
Dull blades are the reason to sharpen. STIHL’s guide says that frequent use blunts the cutter blades, so they need sharpening from time to time. Husqvarna’s US guide describes the same problem from the cut itself: dull blades tear branches instead of cutting them cleanly, which can damage plants and reduce performance. If the trimmer leaves an uneven, frayed edge, STIHL says that is a sign you need to sharpen.
Some symptoms look like dullness but are not. STIHL’s page describes branches that get stuck between the teeth and block the tool without being cut. It says this is a possible sign that the upper and lower blades no longer meet, rather than a sign that the edge needs sharpening. That is a different problem, so check the blade alignment before you file anything. The sources here do not describe that adjustment, so this guide does not give steps for it.
Check for damage before you file
Husqvarna’s US blade-check page says to inspect the blades for damage, cracks or bending, and to check for dull edges or uneven wear. It adds that damaged blades should be replaced before use. This is the first check, because a blade that is cracked or bent is not a candidate for filing.
Husqvarna’s sharpening guide also lists the signs for replacement: replace if blades are chipped, bent or heavily worn. The same guide warns that incorrect sharpening can damage the blade permanently, so the replacement rule is the one to follow for any blade that is damaged.
Safety before you touch the blades
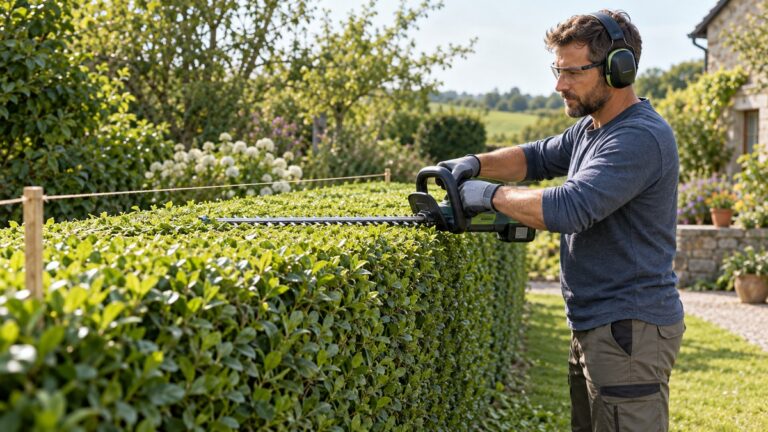
Sharpening is blade work, so the power step comes first. Husqvarna’s US guide says to disconnect power by removing the battery, unplugging, or disconnecting the spark plug, and to wear protective gloves and eye protection before you start. STIHL’s English guide says to wear safety glasses and gloves made from robust material to prevent injury, and to make sure the tool cannot accidentally start up or slip during sharpening.
OSHA’s power tool guidance supports the same order of work. Its eTool says to disconnect tools when not in use, before servicing, and when changing accessories such as blades. Husqvarna’s blade-check and cleaning pages repeat the power step.
- Remove the battery or disconnect power first. Do this before you clean, clamp or file anything.
- Wear gloves and eye protection. STIHL asks for safety glasses and gloves made from robust material. Husqvarna asks for protective gloves and eye protection.
- Use a stable surface. Husqvarna’s guide says to place the trimmer on a stable surface or clamp it in place. It adds that this keeps the blade steady and improves accuracy.
The sources do not give a battery-removal method for every model. If your trimmer’s battery cannot be removed, the guides here do not say what to do instead, so check your own owner’s manual before you go further.
If you are comparing battery trimmers before you decide how to maintain one, this site’s guides cover Black and Decker hedge trimmer battery and charger options, the STIHL HSA 45 cordless hedge trimmer, and a Ryobi 40V 24 inch cordless battery hedge trimmer.
Tools and specifications by source
The table lists what each source states. A cell that says “not stated” means the source did not cover that point. Use it to see which specifications are common to both guides and which come from one guide only.
| Item | Husqvarna US guide (KA-70206) | STIHL English guide | Source |
|---|---|---|---|
| Tools | Flat file or sharpening tool; cleaning cloth or brush; lubricating oil | Flat file, whetstone, soft cloth, water, STIHL resin solvent, safety clothing, work gloves, safety glasses or face protection | Both pages |
| Recommended angle | Follow the original angle, typically 30 to 45 degrees | Use the recommended angle, which is detailed under Technical Data in the operating instructions | Both pages |
| Filing direction | File in one direction only | The flat file works only in one direction; the file is effective on the forward stroke | Both pages |
| Abrasion or removal limit | Not stated | The abrasion limit is 5 mm | STIHL page |
| Deburring | Lightly smooth the back of each tooth to remove metal burrs | Use a whetstone to smooth burrs on the underside of the blades | Both pages |
| Finish after filing | Apply oil or lubricant after sharpening | Spray the cutting apparatus with STIHL resin solvent to restore corrosion protection | Both pages |
| Inspection interval | Inspect blades every 50 hours of use | Not stated | Husqvarna US guide |
| Power step | Disconnect power (remove battery, unplug or disconnect spark plug) | Ensure the tool cannot accidentally start up or slip; no battery step is given | Husqvarna US guide |
The table shows the overlap. Both guides cover the file, the burr, and the finish. Only the STIHL page gives a material limit, and only the Husqvarna US guide gives an inspection interval. The angle is typical in one guide and deferred to the manual in the other, so the number to use for your model comes from its own manual.
Step-by-step: how to sharpen hedge trimmer blades
These steps combine the two guides. Where the guides differ, the step says which one it follows. Work slowly, and keep the power disconnected until the last check.
- Disconnect power. Remove the battery, unplug the tool, or disconnect the spark plug, as the Husqvarna US guide lists. Do this before any other step.
- Clean the blades. Remove dirt, sap and debris with a cloth or brush. STIHL’s guide says to do this before you start, because plant sap and resin build up on the cutting apparatus during use. Husqvarna’s guide says cleaning gives smoother sharpening and better results.
- Secure the trimmer. Place it on a stable surface or clamp it in place, so the blade stays fixed while you file. Husqvarna says this keeps the blade steady and improves accuracy.
- Find the original angle. Husqvarna’s US guide gives a typical range of 30 to 45 degrees. The STIHL guide points you to the Technical Data in the operating instructions for your tool. Use the number from your manual if you have it. Do not change the blade angle while you file.
- File each tooth in one direction. Use a flat file, and file only on the forward stroke. STIHL says to lift the file when you move it back, rather than sawing back and forth. Husqvarna’s guide says to file in one direction only and to keep consistent strokes for a steady edge.
- Use the same number of strokes on every tooth. Both guides say to keep the strokes even. STIHL adds that the same number of strokes on each edge keeps all the blades the same length at the end.
- Sharpen only the cutting edge. STIHL says to sharpen only the cutting edge of each tooth and not to file the integrated cut protection or the orange plastic cut protection.
- Deburr the back of each tooth. Husqvarna says to lightly smooth the back of each tooth to remove metal burrs. STIHL uses a whetstone for this step and says to moisten the blades lightly as you work. STIHL notes that filing removes the corrosion protection, which is why its guide includes a finish step.
- Clean off the dust and finish. STIHL says to remove the grinding dust, then spray the cutting apparatus with STIHL resin solvent. Husqvarna says to apply oil or lubricant after sharpening, and to apply oil along the blade edges.
- Check the blade and guard before use. Husqvarna’s blade-check page says to make sure the blades move freely, that the blade guard is securely attached, and that damaged blades are replaced before use.
Mistakes the sources warn about
- Sharpening the inside edges. Husqvarna’s guide says not to sharpen the inside edges.
- Changing the angle. Husqvarna’s guide says not to change the blade angle. STIHL says to use the recommended angle from the operating instructions.
- Overheating the blade. Husqvarna’s guide says to avoid overheating the blade with power tools, and it recommends a hand file for better control.
- Removing too much metal. STIHL gives an abrasion limit of 5 mm. Its guide says that if you file off more than this, the material strength may be compromised, which can make the trimmer unusable.
- Filing the cut protection. STIHL says not to file the integrated cut protection or the orange plastic cut protection.
- Sharpening a damaged blade. Husqvarna says that incorrect sharpening can damage the blade permanently. Replace a blade that is chipped, bent or heavily worn.
How often to clean, oil and check
Husqvarna’s US guide has two maintenance rules that apply between sharpenings. It says to clean the blades after each use and to inspect blades every 50 hours of use. Its cleaning guide also says sap, dirt and debris can build up quickly, causing the blades to stick, cut poorly, or wear faster. Its cleaning page also says to clean blades as soon as possible after use.
The STIHL guide does not give an inspection interval. It says sharpening should be done before the blades show visible signs of wear, but when cutting performance begins to deteriorate, for example when blades snag on branches. That is the practical signal to sharpen, even without a set number of hours.
When a dealer should sharpen the blades
The STIHL guide says that if you feel unsure, it might be a better idea to take the trimmer to your local dealer. It adds that a dealer can professionally sharpen the blades to achieve an optimal result without removing too much material. The Husqvarna guide makes the same point in a shorter form: if you are unsure, contact your local authorised Husqvarna dealer.
The STIHL advice applies when you are unsure whether sharpening is the right fix. The Husqvarna replacement rule applies when a blade is chipped, bent or heavily worn.
How we chose
We chose pages that describe sharpening step by step and include the power step before blade work. We opened eight pages on 2026-10-22 and cite five: three Husqvarna US support pages, one STIHL page, and one OSHA eTool page. The three pages we opened but do not cite are two Husqvarna Australian pages and one Husqvarna US storage page. Each cited source is used only for a point its text states.
The STIHL page is the English version of the page, and it points to dealers in Great Britain. The Husqvarna US guide covers the power step, the tools, the file direction and the finish, so the STIHL page is used only for the points the US pages do not state: the 5 mm abrasion limit, the file technique on the forward stroke, and the resin solvent finish. We did not rank the sources, and we did not treat one guide as more reliable than the other. The manuals for several hedge trimmers, including EGO and STIHL manuals, are PDF files that this tool cannot open, so this guide does not quote them.
What we could not verify
The sources we opened do not give the angle for every model. Husqvarna’s US guide says typically 30 to 45 degrees, and STIHL’s page points to the operating instructions for the correct figure. This guide cannot confirm which number applies to your trimmer.
The sources do not show whether every battery model can have its battery removed in the way the Husqvarna guide describes, and they do not give steps for a trimmer whose battery cannot be removed. They also do not say whether the 5 mm limit applies to every STIHL hedge trimmer, or whether the 50-hour inspection interval applies to every Husqvarna model.
No source opened for this guide gives a time to complete the sharpening, a file size, or a clamping method beyond a stable surface or a clamp.
What the sources do not say
- The file size or type beyond “flat file” and “flat file or sharpening tool”. The Husqvarna US guide suggests a hand file for control, and it does not name a grit or size.
- How many strokes to use per tooth. The guides say the same number on each tooth, not a number.
- How to check the blade for straightness after filing, or how to adjust the upper and lower blades so they meet.
- Whether a power sharpening tool, such as a drill-driven stone, is suitable. The sources cited in this guide do not discuss power sharpening tools.
- The correct oil or resin solvent for a specific model beyond the general terms each guide uses.
FAQ
Can I sharpen hedge trimmer blades with the battery in?
No. The Husqvarna US guide lists disconnecting power first, which means removing the battery, unplugging, or disconnecting the spark plug. OSHA’s power tool guidance says to disconnect tools before servicing and when changing accessories such as blades. Remove the battery before you clean, clamp or file.
What file should I use to sharpen a hedge trimmer blade?
Husqvarna’s US guide calls for a flat file or sharpening tool and recommends a hand file for better control. STIHL’s guide lists a flat file and a whetstone for deburring. Neither guide gives a file size or grit, so choose a flat file and use it only in one direction.
What angle should I file each tooth at?
Husqvarna’s US guide says to follow the original angle, typically 30 to 45 degrees. STIHL’s guide says to use the recommended sharpening angle in the Technical Data of your operating instructions. For your model, the manual figure is the one to use, and you should not change the angle while you file.
How much metal can I file off?
STIHL gives an abrasion limit of 5 mm, and says that filing off more than this may compromise the material strength and make the trimmer unusable. The Husqvarna US guide does not state a limit. STIHL’s dealer advice applies when you are unsure, and a dealer can sharpen without removing too much material.
When should I replace the blade instead of sharpening it?
Replace the blade if it is chipped, bent or heavily worn, according to Husqvarna’s US guide. Its blade-check page says damaged blades should be replaced before use.
Does sharpening fix a trimmer that snags on branches?
It can, if the blade is dull. STIHL lists blades that frequently snag on branches as the sign that cutting performance is deteriorating, which is when sharpening is due. It also says that branches stuck between the teeth can mean the upper and lower blades no longer meet, which is not a sharpening problem. Check which one you have before you file.
Bottom line
Disconnect power before anything else, then file each tooth at the original angle in one direction, and replace any blade that is chipped, bent or heavily worn instead of filing it. If the blade is still dull after a careful pass and the manual angle is unclear, take it to a dealer.
Sources
- Husqvarna US: How to sharpen hedge trimmer blades (opened 2026-10-22)
- STIHL: Sharpening hedge trimmers correctly (opened 2026-10-22)
- Husqvarna US: How to clean and oil hedge trimmer blades (opened 2026-10-22)
- Husqvarna US: Is your hedge trimmer safe to use? Check blades and guard (opened 2026-10-22)
- OSHA: eTool, Construction – Electrical Incidents – Power Tools (opened 2026-10-22)